Introduction
Carbon steel and low alloy steel are among the most commonly analyzed materials in metallography. Low alloy steels (such as 4140, 4340, 5160, and 52100) are essentially carbon steels with alloying additions that enhance properties like hardenability, strength, and toughness. The preparation techniques are identical to carbon steels - same grinding sequences, same etchants, same challenges. Proper preparation is essential to reveal the true microstructure without introducing artifacts such as deformation, scratches, or contamination. This guide will walk you through the complete preparation process for both carbon steels and low alloy steels.
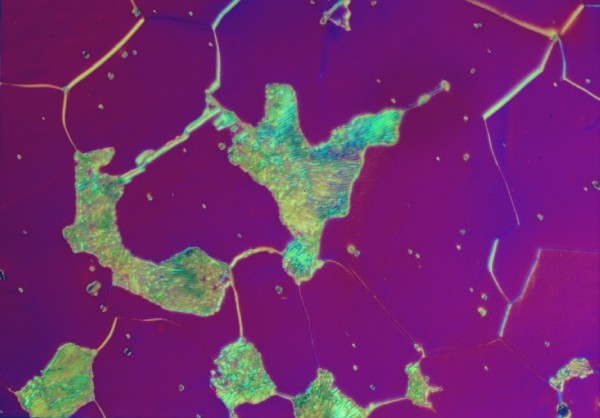
1018 carbon steel microstructure showing ferrite (light) and pearlite (dark), properly prepared and etched.
Carbon steels and low alloy steels can vary significantly in hardness depending on carbon content, alloying elements, and heat treatment. For example, 1018 is a low-carbon steel (typically 126 HB) that requires lighter pressure during preparation, while 1045 is a medium-carbon steel (around 170 HB) that can tolerate more aggressive preparation. Low alloy steels like 4140 and 4340 typically have similar hardness ranges (197-217 HB) and use the same preparation techniques as carbon steels. The key is to use appropriate abrasives and maintain consistent pressure throughout the process based on the specific steel grade and its hardness, regardless of whether it's a carbon steel or low alloy steel.
Sectioning
When sectioning carbon steel and low alloy steel samples, use a slow cutting speed to minimize heat generation and deformation. For hardened or high-carbon steels, use slower speeds and lighter feed rates to prevent heat-induced phase transformation.

MAX-D abrasive cut-off blades designed for general steels and ferrous metals like carbon steel and low alloy steel. For hard or case-hardened steels, MAX-VHS series blades may be more appropriate. Thin blades (0.5-1.0 mm) minimize heat generation and deformation.
- Use MAX-D series blades for general carbon steel and low alloy steel grades, or MAX-VHS series for hard/case-hardened steels
- Use a thin abrasive cut-off wheel (0.5-1.0 mm thickness)
- Apply steady, moderate pressure
- Use adequate coolant to prevent overheating and phase transformation
- Allow the wheel to do the cutting - avoid forcing
For more information on sectioning blades, visit our Abrasive Blades collection.
Mounting
Mounting provides edge retention and easier handling. For carbon and low alloy steels, compression mounting with phenolic, epoxy, or diallyl phthalate (DAP) resins all work well. DAP gives the best edge retention of the three when fine surface features near the specimen edge must be preserved, which is useful for case-hardened, carburized, or decarburized specimens. Phenolic is the economical default for general carbon-steel work; epoxy is preferred when the lower cure pressure (2000-3000 psi) protects fragile specimens.
Compression Mounting
- Clean the sample thoroughly to remove cutting fluid and debris
- Place sample in mounting press with appropriate resin
- Apply pressure: 3000-4000 psi for phenolic, 2000-3000 psi for epoxy
- Heat to 150-180°C and hold for 5-8 minutes
- Cool under pressure to room temperature
For more information on mounting equipment, visit our Compression Mounting Equipment page.
Grinding
Grinding removes sectioning damage and prepares the surface for polishing. Start with coarse grits and progressively move to finer grits. For carbon steel, we recommend the following sequence:
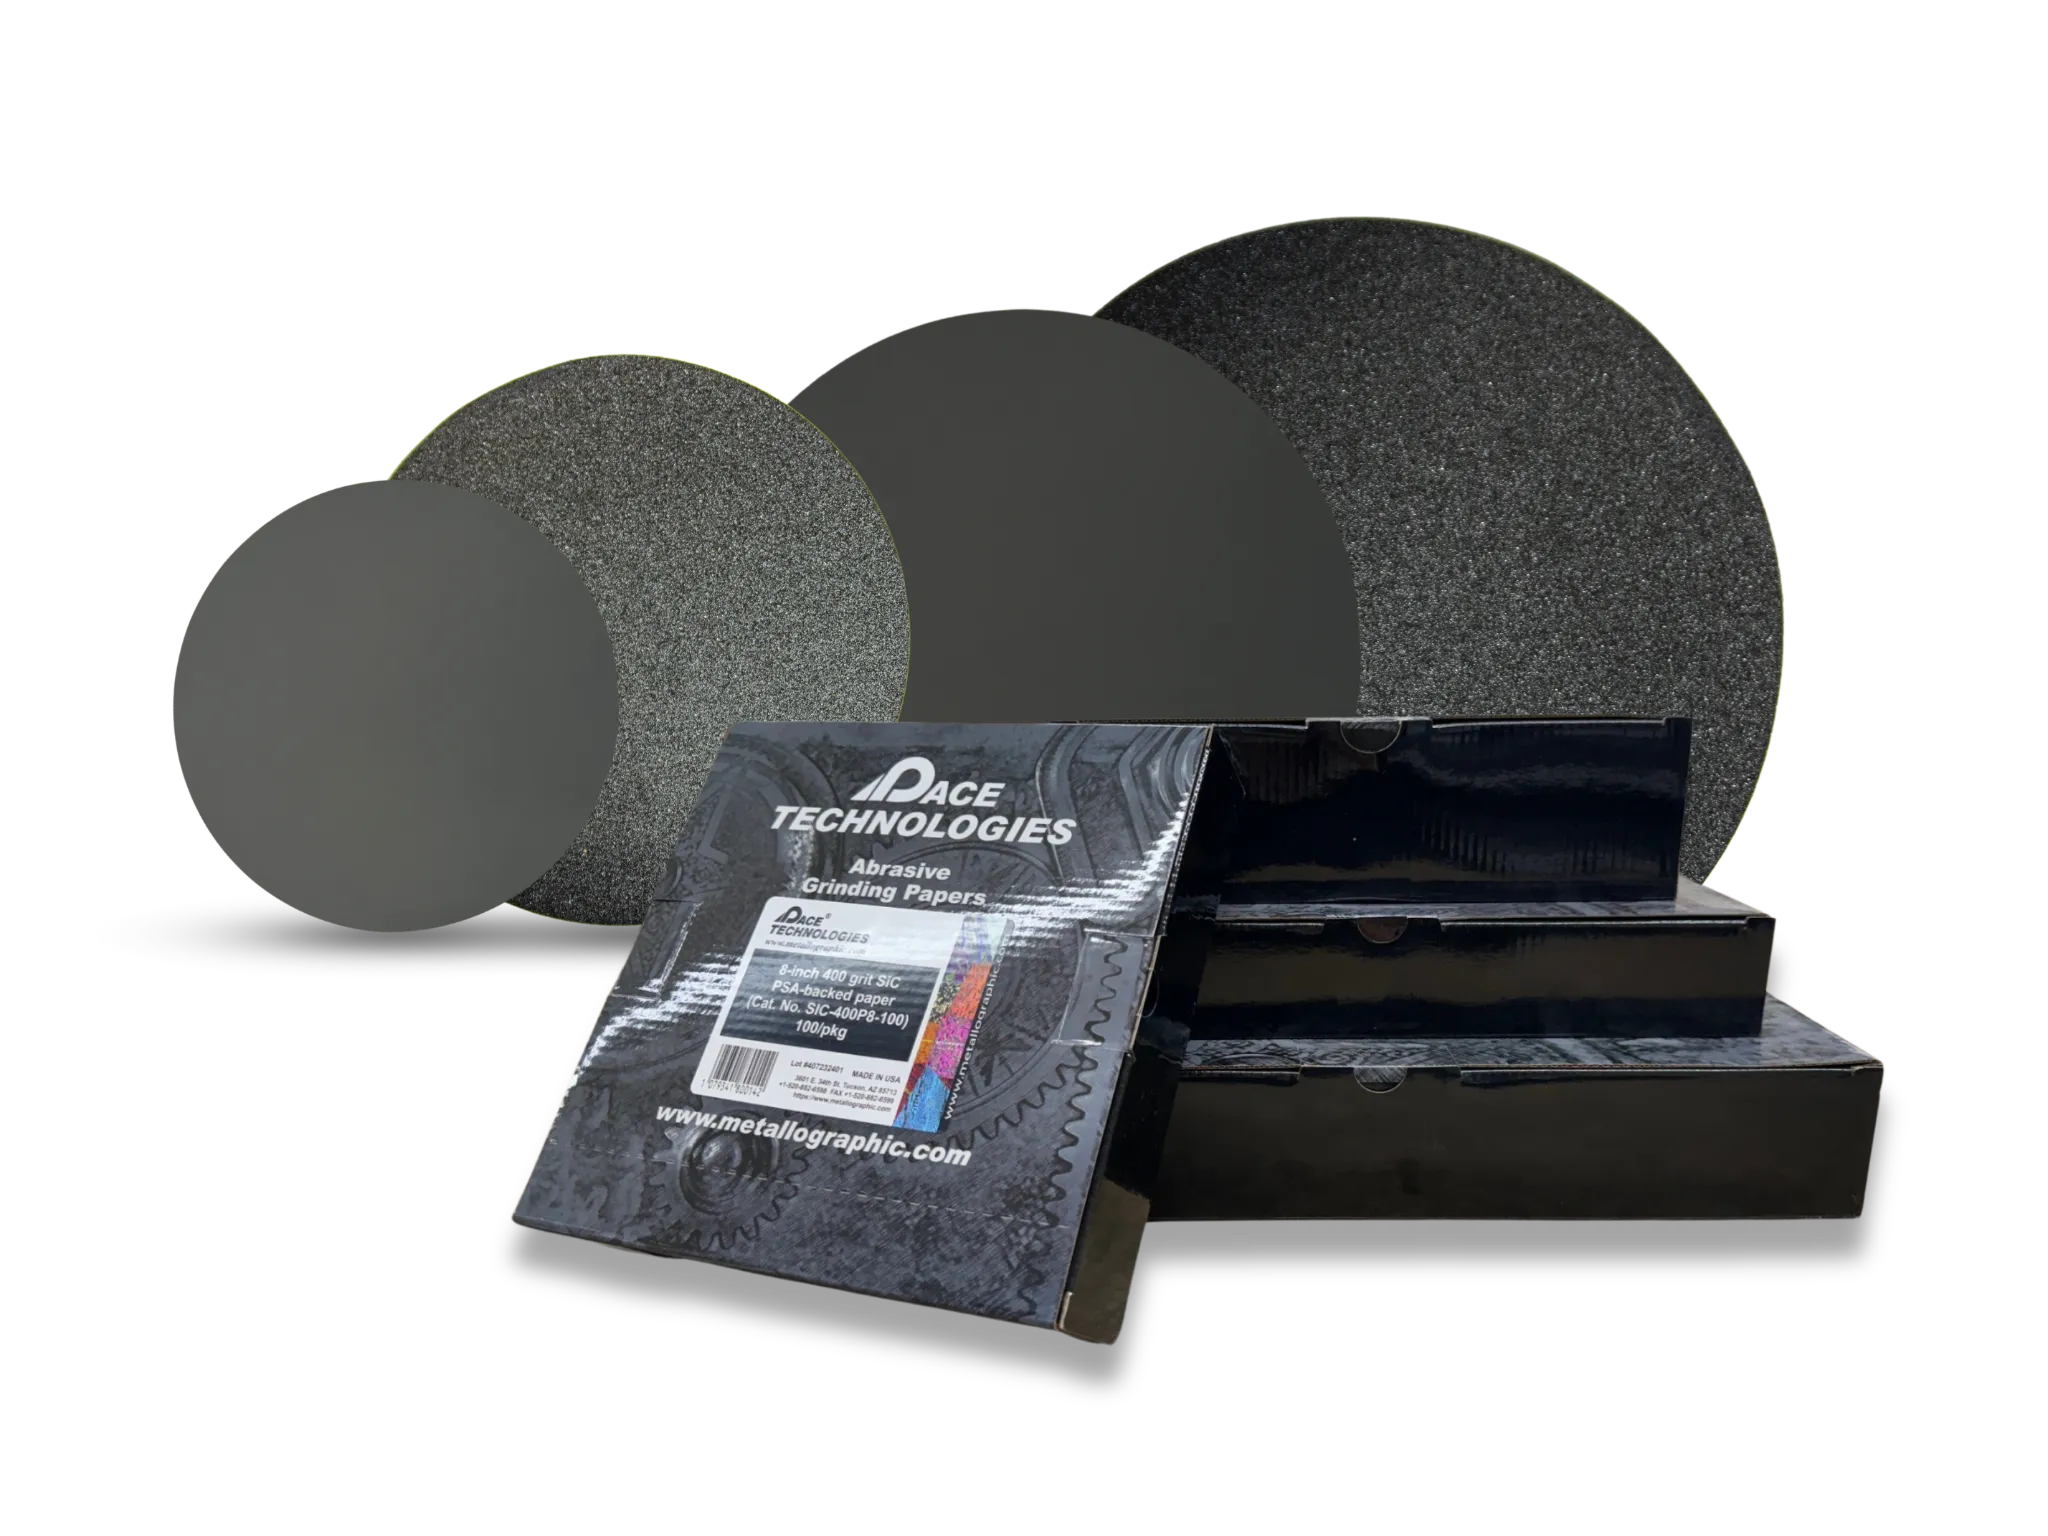
Silicon carbide (SiC) grinding papers in various grit sizes (120, 240, 400, 600) for progressive grinding. Rotate sample 90° between each grit to ensure complete scratch removal.
Grinding Sequence
- 120 grit (P120) SiC: Water lubricant, 5-10 lb (22-45 N), 200/200 rpm head/base, grind until plane (typically 30-60 seconds).
- 240 grit (P280) SiC: Water, 5-10 lb, 200/200 rpm, 1 minute.
- 360 grit (P400) SiC: Water, 5-10 lb, 200/200 rpm, 1 minute.
- 600 grit (P1200) SiC: Water, 5-10 lb, 200/200 rpm, 1 minute.
For soft, low-carbon steels (1018, 1020, A36, and similar ferrite-pearlite grades) extend the sequence with two finer steps: 800 grit (P2400) and 1200 grit (P4000) SiC, water, 5-10 lb, 200/200 rpm, 1 minute each. Soft steels smear when taken directly from a 600-grit surface to 1 µm diamond; the 800 and 1200 grit steps reduce that smearing risk and shorten the polish step that follows.
Important: Rotate the sample 90° between each grit to confirm complete removal of previous scratches. Use water as a lubricant and maintain consistent pressure. For softer, low-carbon steels use lighter pressure (5-10 lb) to avoid deformation; for hardened grades a steady moderate force is fine.
For more information on grinding supplies, visit our Silicon Carbide Grinding Papers collection.
Polishing
Polishing removes grinding scratches and prepares a mirror-like surface. For carbon steel, diamond polishing followed by oxide polishing typically yields excellent results. Adjust cloth hardness and pressure based on the steel's hardness.
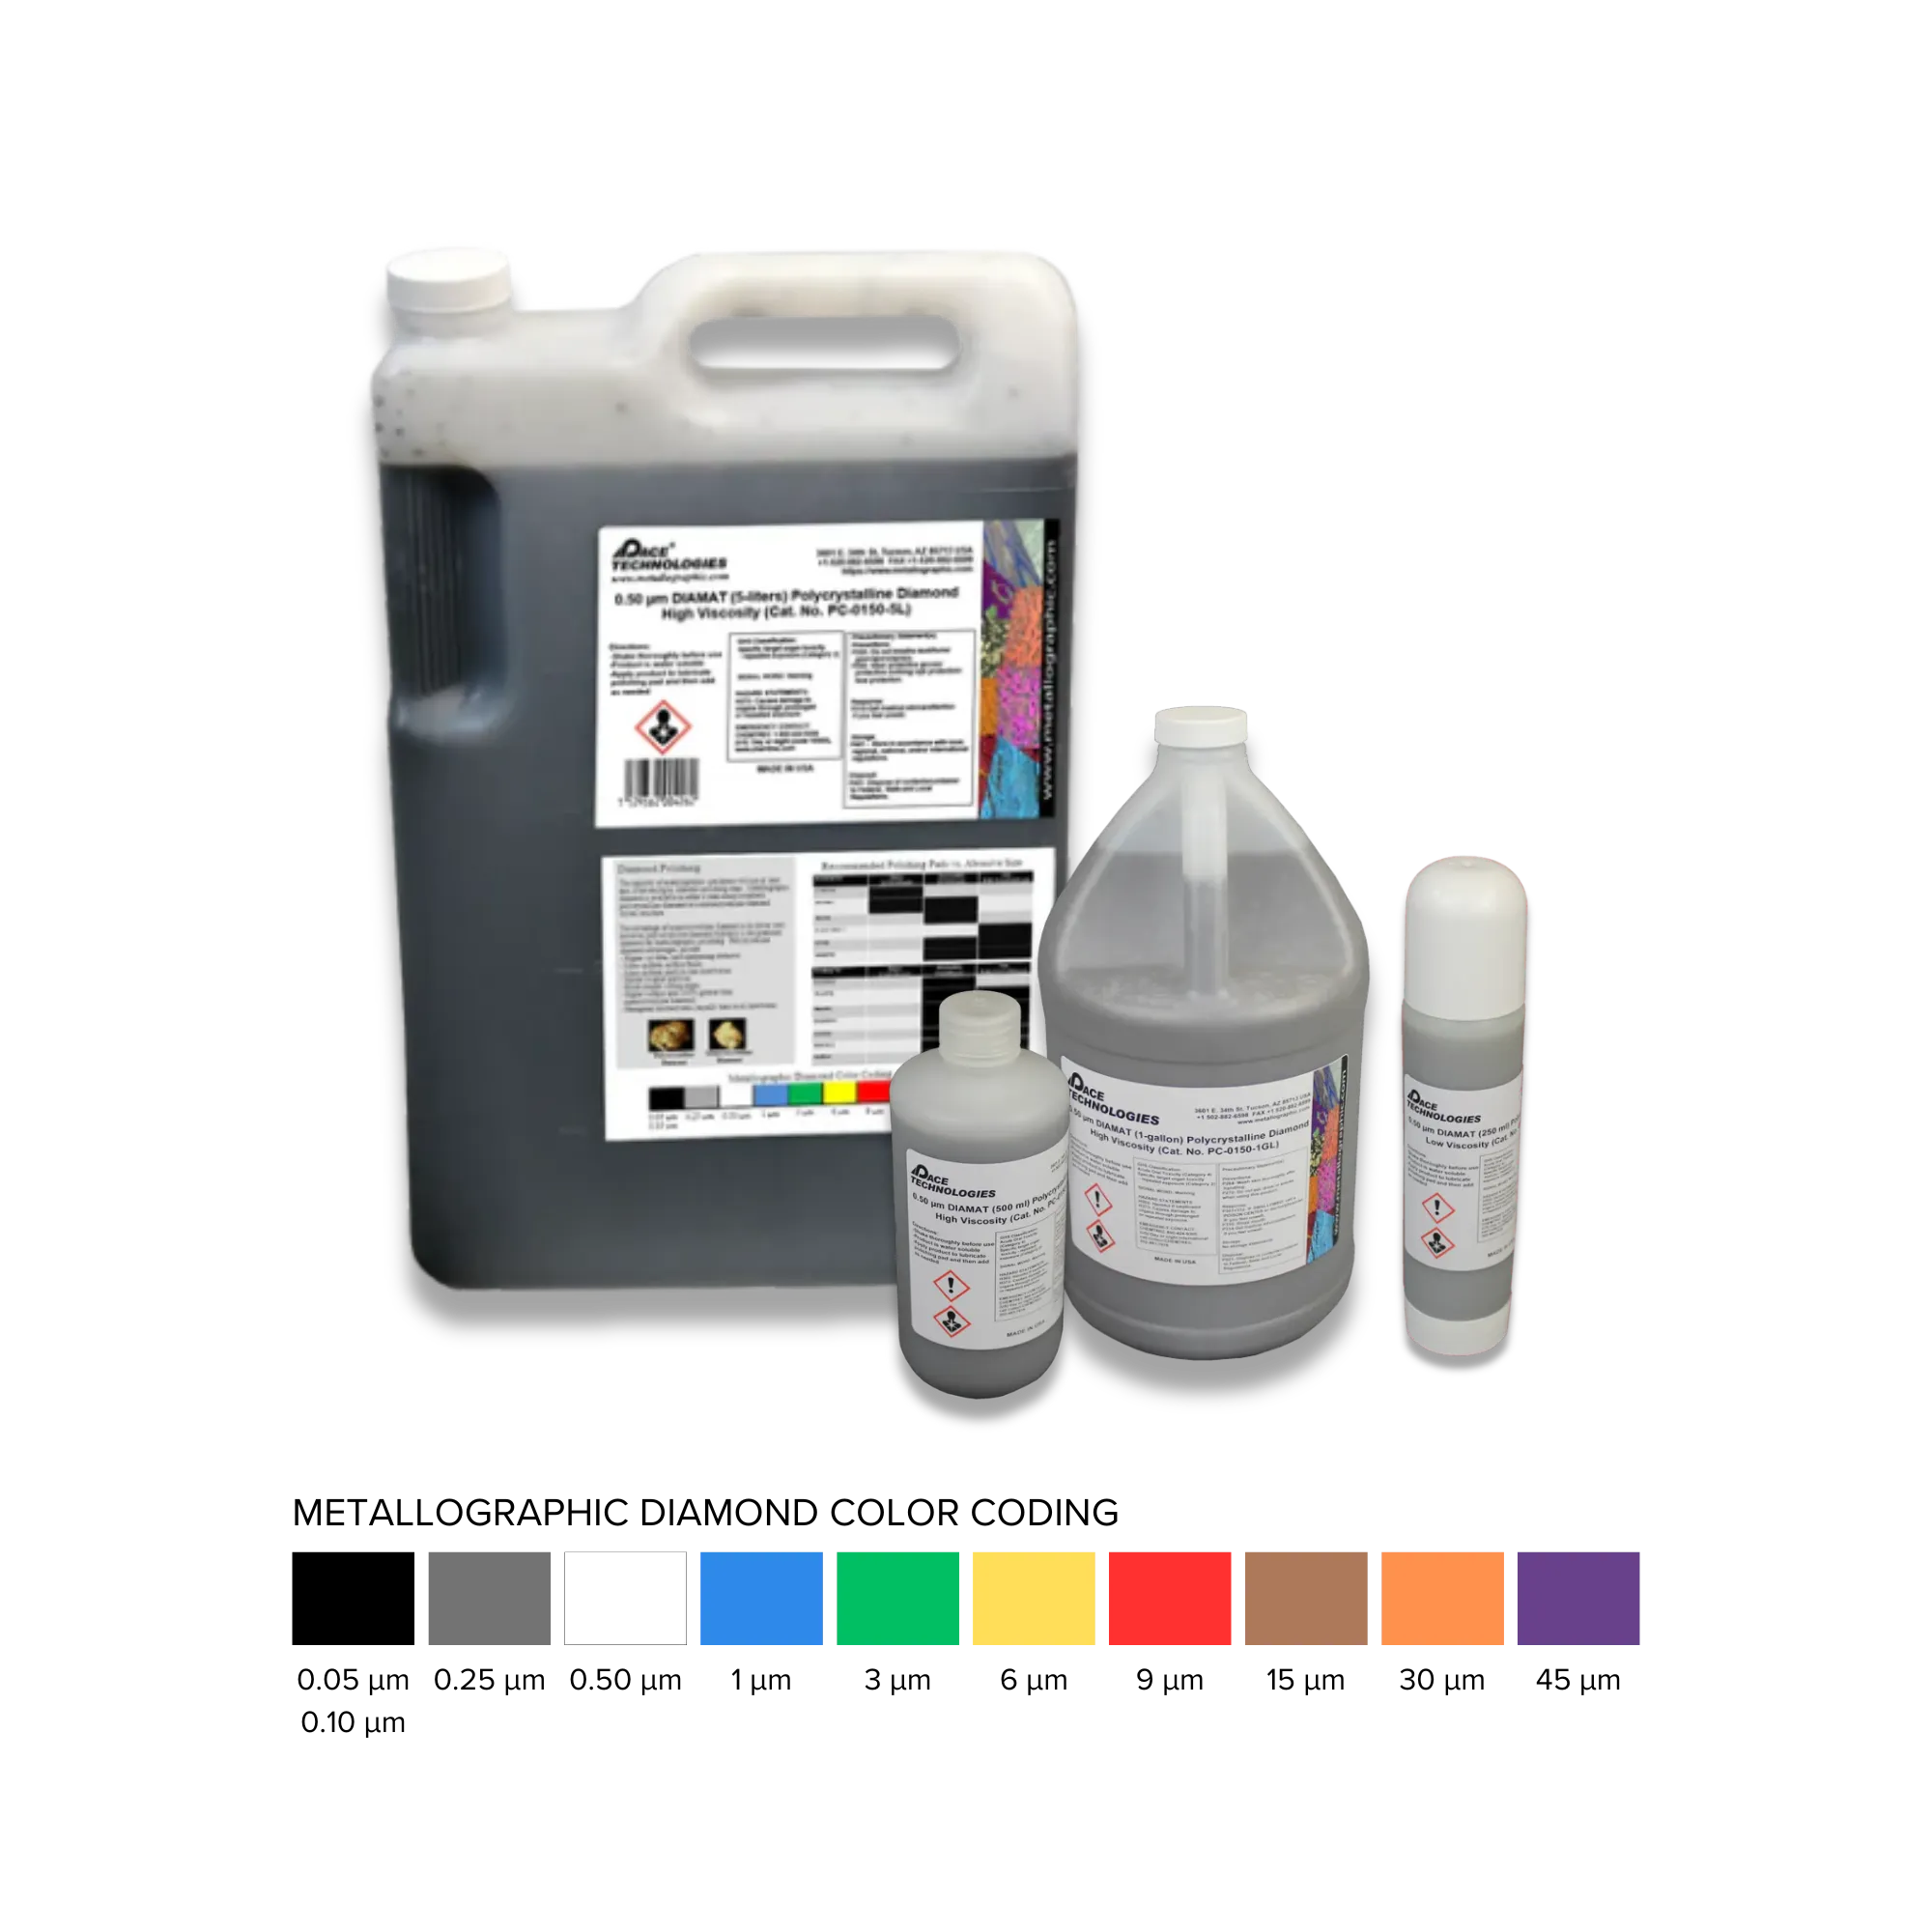
Polycrystalline diamond compound provides aggressive cutting action ideal for carbon steels.
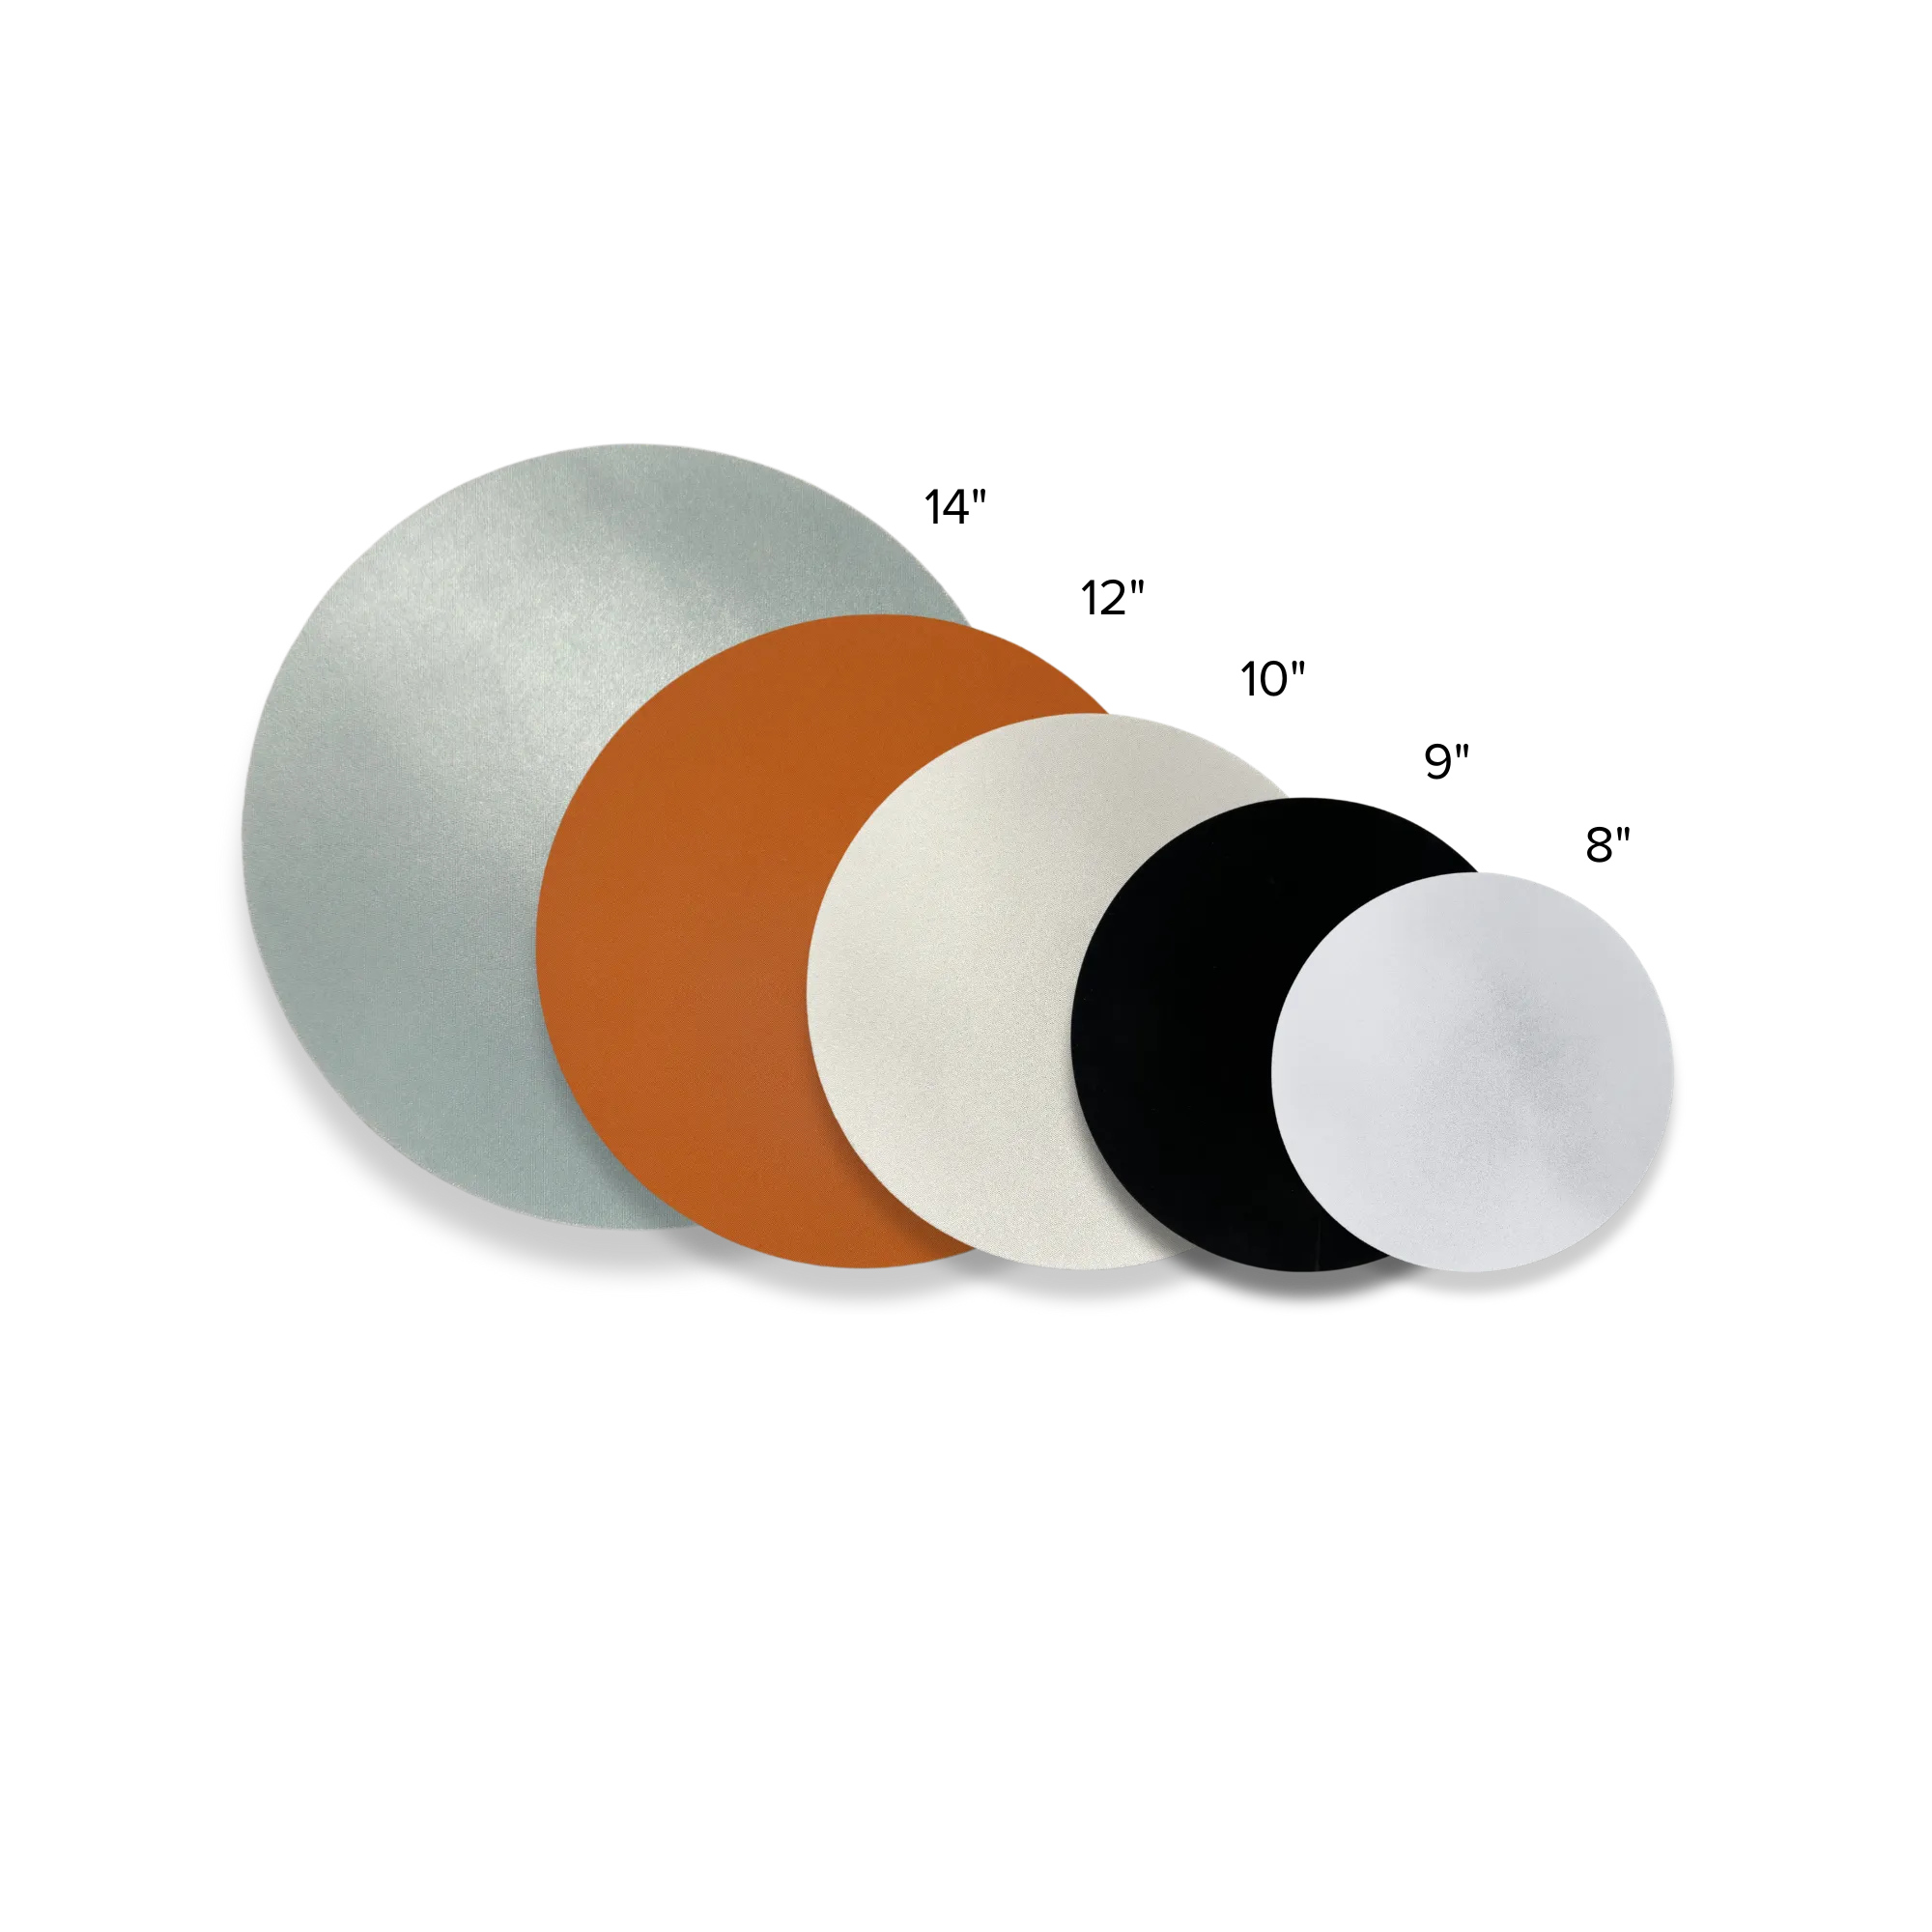
Various polishing pads and cloths for different polishing stages. Select pad hardness based on steel hardness and polishing stage.
Soft, Low-Carbon Steels (1018, 1020, A36)
Soft ferrite-pearlite grades polish in a single diamond step after the extended grinding sequence. The 9 µm and 3 µm rough-polish stages used for hardened steels are not needed here and risk introducing relief around inclusions and pearlite colonies.
- 1 µm DIAMAT diamond on GOLDPAD polishing pad: DIALUBE Purple Extender lubricant, 5-10 lb (22-45 N), 200/200 rpm head/base, 2 minutes.
- 0.05 µm Nanometer alumina on TRICOTE polishing pad: Light force (5-10 lb), 100/100 rpm, 30 seconds.
- Rinse thoroughly with water and dry with compressed air.
Smear control for soft grades: 1018-class steels tend to smear during polishing, masking scratches that re-emerge after etching. When persistent smearing is suspected, a short polish-etch-polish sequence, the 0.05 µm alumina step bracketing a light 2% nital etch, resolves it without lengthening the diamond polish (which would introduce relief).
Medium-Carbon and Hardened Steels (1045, 1095, 4140, 4340, 52100)
Harder grades benefit from a graded diamond sequence to clear deep grinding scratches before the final alumina polish.
- 9 µm DIAMAT diamond on POLYPAD polishing pad: DIALUBE Purple Extender, 5 lb, 200/200 rpm, 3 minutes.
- 3 µm DIAMAT diamond on TEXPAN polishing pad: DIALUBE Purple Extender, 5 lb, 200/200 rpm, 3 minutes.
- 1 µm DIAMAT diamond on GOLDPAD polishing pad: DIALUBE Purple Extender, 5-10 lb, 200/200 rpm, 2 minutes.
- 0.05 µm Nanometer alumina on MICROPAD polishing pad: 5 lb, 100/100 rpm, 30 seconds.
- Rinse thoroughly with water and dry with compressed air.
Important: Keep force light (5-10 lb) and check the surface between steps. Over-polishing introduces relief around inclusions or second-phase particles, especially noticeable in low-alloy steels with carbide-forming additions (Cr, Mo, V). Final-polishing on alumina rather than colloidal silica is the PACE house default for carbon and low-alloy steels; colloidal silica can chemically attack the matrix and lift fine inclusions out of place.
For more information on polishing supplies, visit our Diamond Abrasives and Polishing Pads collections.
Etching
Etching reveals the microstructure by selectively attacking grain boundaries and phases. The choice of etchant depends on the carbon content, heat treatment, and what features you want to reveal. Nital (nitric acid in ethanol) is the most common etchant for carbon steel.
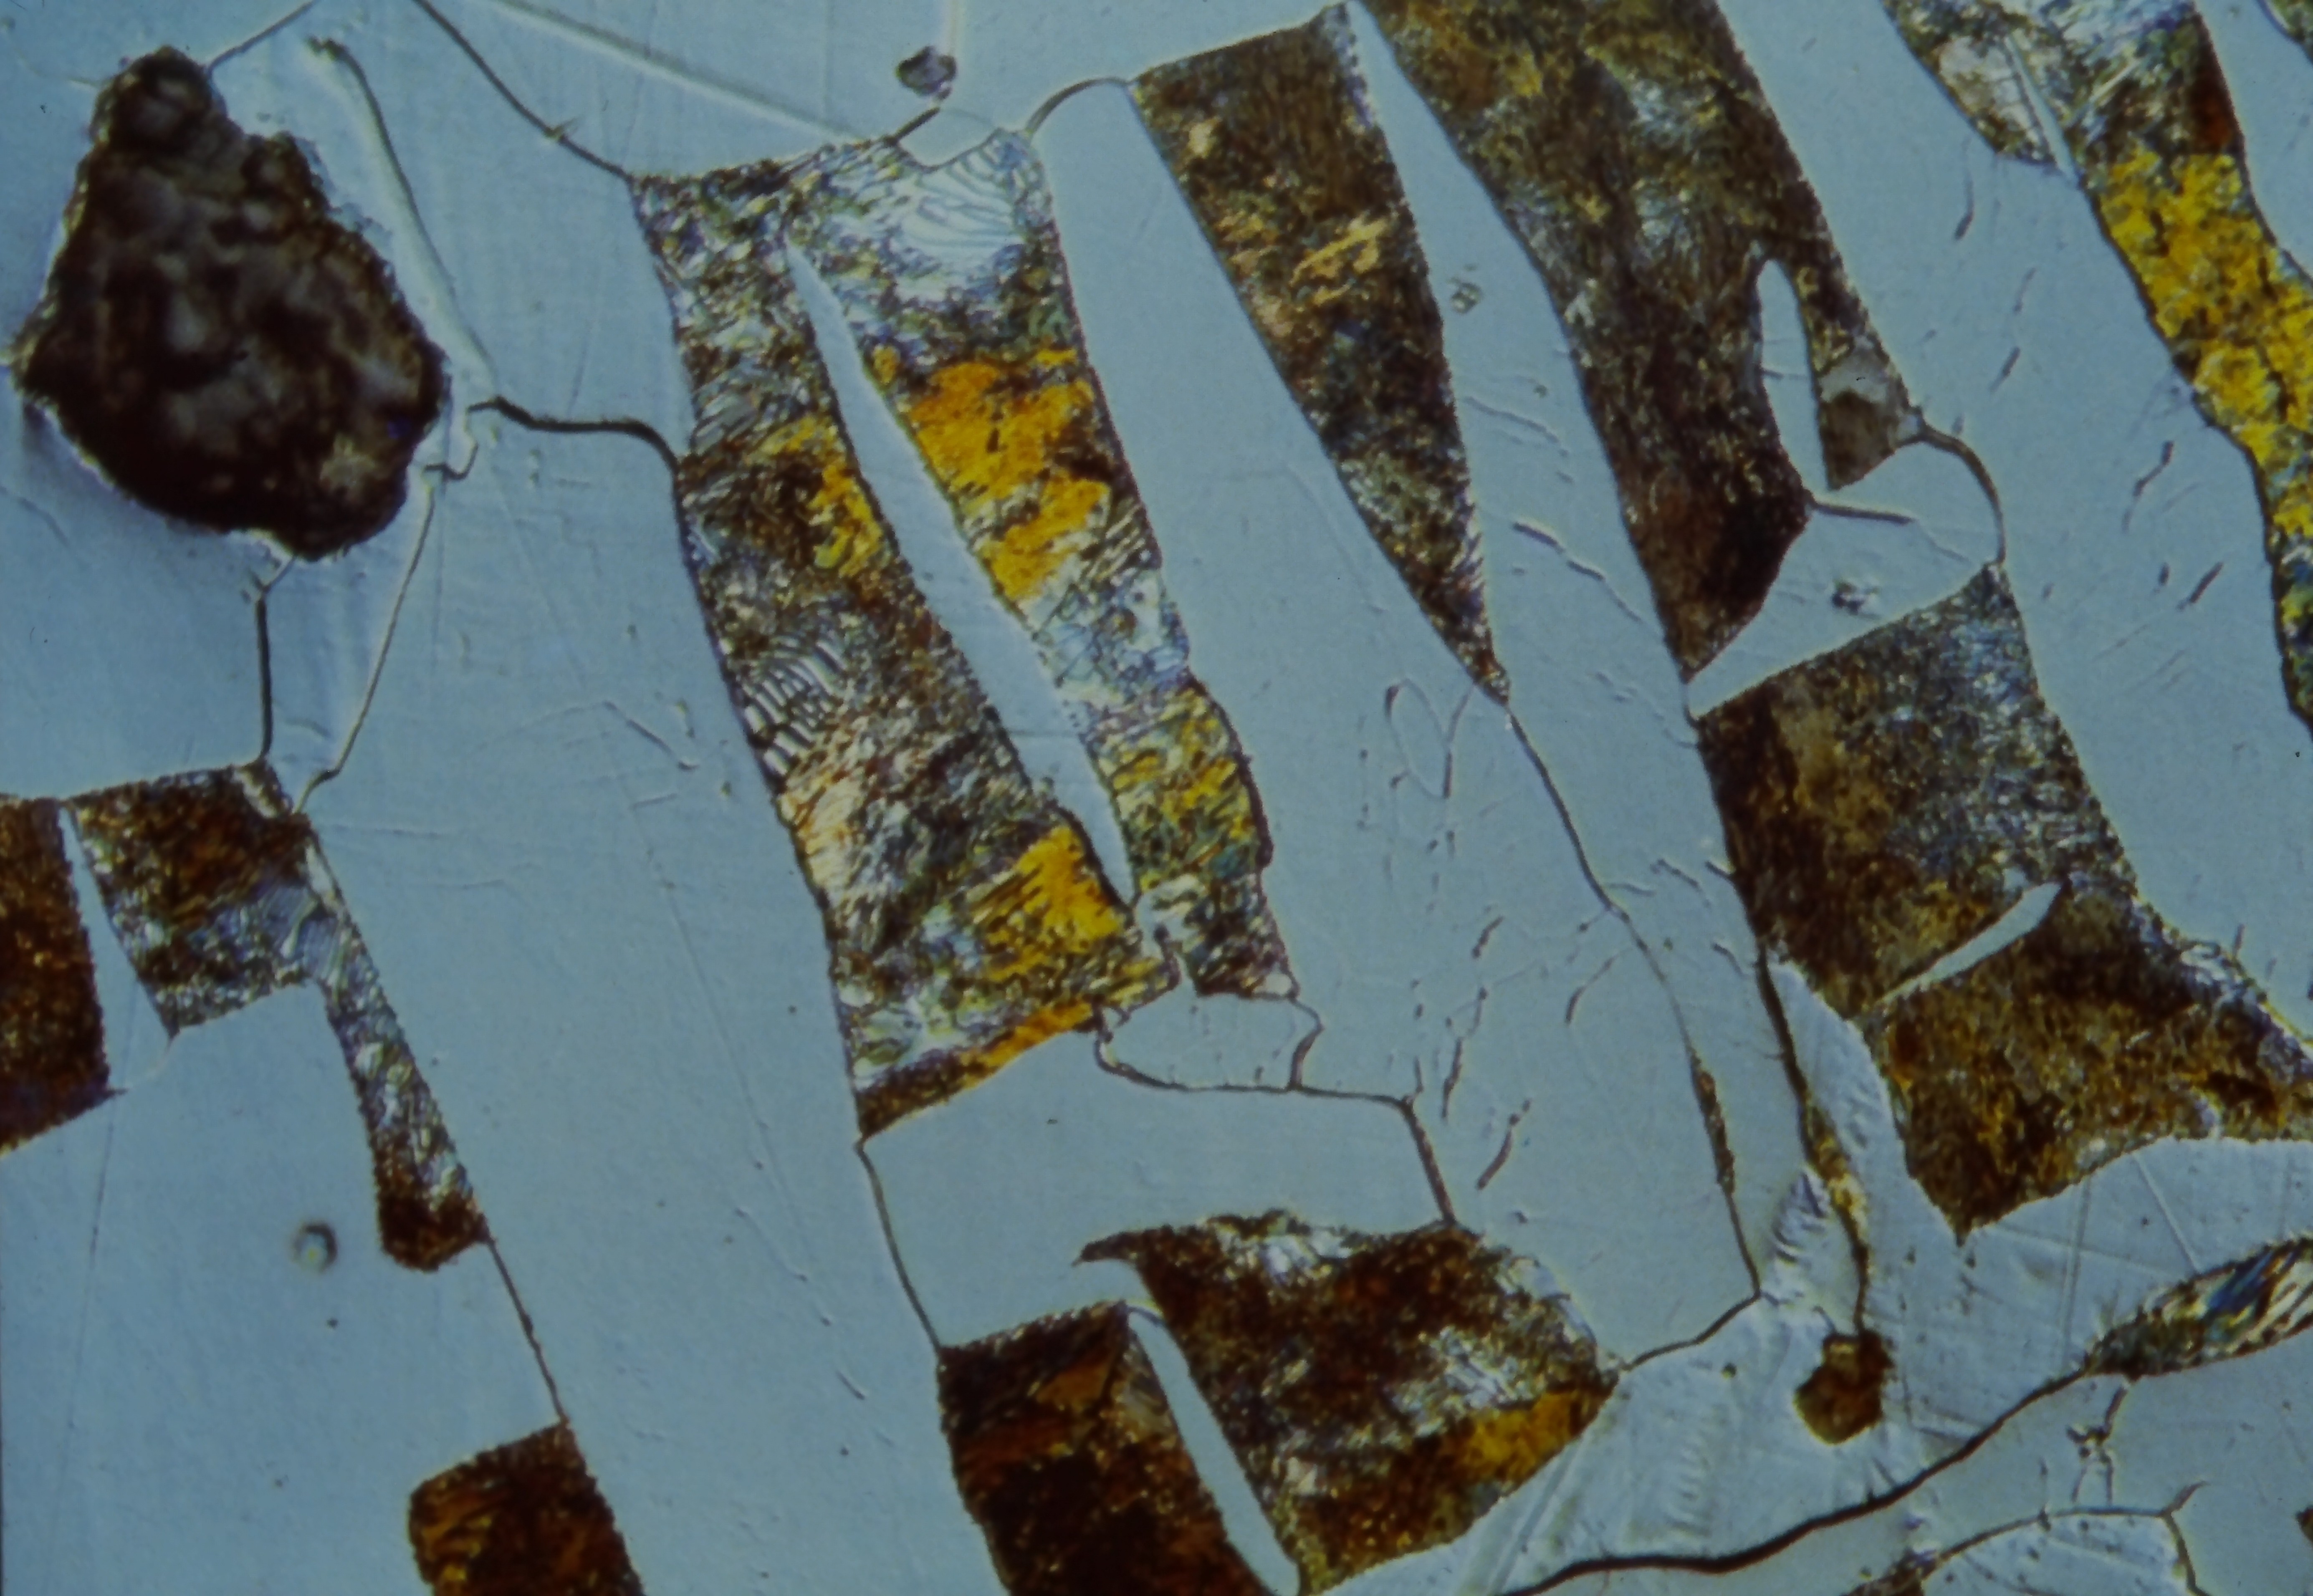
Ferrite-pearlite steel microstructure etched with Nital. Proper etching reveals distinct ferrite grains and pearlite colonies without over-etching artifacts.
Common Etchants for Carbon Steel and Low Alloy Steel
- 2% Nital: The standard default for carbon and low-alloy steels including 1018, 1020, 1045, 4140, 4340, A36. Reveals ferrite grain boundaries, pearlite structure, and tempered martensite (2% HNO₃ in ethanol). Etch by immersion or swab for 5-15 seconds.
- 3-5% Nital: Step up the concentration for harder grades (1095, 52100, hardened 4340) or when 2% nital under-etches at 5-15 seconds. Avoid going beyond 5%; stronger solutions etch faster but are less controllable and tend to pit.
- 4% Picral: Best for resolving pearlite lamellae, spheroidized cementite, and bainite without attacking ferrite grain boundaries. Picral's dissolution rate is uniform regardless of crystal orientation, where nital's is not, making picral the right choice for interlamellar pearlite spacing measurements and carbide-distribution analysis (e.g., 52100 bearing steel). 2-4 g picric acid per 100 mL ethanol.
- 10% Sodium Metabisulfite (SMB): Aqueous 10% K₂S₂O₅. A safer general-purpose alternative to nital and picral that combines the capabilities of both. Reveals ferrite grain boundaries (will color some ferrite grains), pearlite, bainite, and as-quenched or tempered martensite. Particularly useful in labs that restrict picric-acid use.
- Vilella's Reagent: For prior-austenite grain boundaries in tempered martensite and for ferrite-carbide structures in low-alloy steels. 1 g picric acid, 5 mL HCl, 100 mL ethanol.
Picric-acid safety: Picral and Vilella's both contain picric acid. Dry picric acid is a detonation hazard. Store reagent bottles tightly capped, keep the contents hydrated (a small layer of ethanol or water above the crystals if buying solid picric acid), and never let solutions evaporate to dryness. If your lab restricts picric-acid reagents, substitute 10% sodium metabisulfite for Picral and an electrolytic or Beraha-type tint etch for Vilella's.

Etching solutions and reagents for carbon steel and low alloy steel. Common etchants include Nital (2%, 3%, 5%), Picral, and Vilella's Reagent. The same etchants work for both carbon steels and low alloy steels. Etching time typically ranges from 5-30 seconds depending on the etchant and steel grade.
Etching Procedure
- Ensure sample is clean and dry
- Apply etchant with cotton swab or immerse sample
- Etch for 5-30 seconds (time varies by etchant and steel grade/hardness)
- Immediately rinse with water, then alcohol
- Dry with compressed air
Tip: Start with shorter etching times (5-10 seconds) and step up if needed. Over-etching obscures fine details and can produce pitting that gets mistaken for genuine porosity or inclusions. If 2% nital is under-etching at 15 seconds, raise the concentration rather than the time; longer immersion roughens the surface unevenly. For pearlite-spacing or carbide imaging, switch to 4% picral.
For more information on etchants, visit our Etchants collection.
Troubleshooting
Common Issues and Solutions
- Scratches remaining: Insufficient grinding/polishing time or skipped grits. Ensure complete scratch removal at each step.
- Relief around inclusions: Over-polishing or too soft a cloth. Reduce polishing time or use slightly harder cloth.
- Contamination: Clean between steps, use fresh abrasives, and ensure proper sample cleaning.
- Poor edge retention: Consider using phenolic mounting material or different mounting technique.
- Over-etching: Reduce etching time or use lower Nital concentration. Start with shorter times.
- Under-etching: Increase etching time or use higher Nital concentration. Ensure sample is clean before etching.
- Phase transformation during cutting: Use slower cutting speed and adequate coolant to prevent overheating.
Additional Reading
- Zipperian, D.C. Metallographic Handbook. PACE Technologies, Tucson, AZ. House reference for preparation procedures.
- ASM Handbook, Vol. 9: Metallography and Microstructures. ASM International. Comprehensive carbon and low-alloy steel preparation, microstructure interpretation, and etching.
- ASM Handbook, Vol. 1: Properties and Selection: Irons, Steels, and High-Performance Alloys. ASM International. Alloy chemistry, processing, and property data.
- Vander Voort, G.F. Metallography: Principles and Practice. ASM International. Detailed Nital and Picral procedures, inclusion analysis, and phase identification.
- Krauss, G. Steels: Processing, Structure, and Performance, 2nd ed. ASM International. The standard textbook on steel microstructure and heat treatment.
- Petzow, G. Metallographic Etching, 2nd ed. ASM International. Comprehensive etchant reference.
- ASTM E3 — Standard Guide for Preparation of Metallographic Specimens.
- ASTM E407 — Standard Practice for Microetching Metals and Alloys (steel etchants section).
- ASTM E45 — Standard Test Methods for Determining the Inclusion Content of Steel.
- ASTM E112 — Standard Test Methods for Determining Average Grain Size.
- ASTM E1268 — Standard Practice for Assessing the Degree of Banding or Orientation of Microstructures.
- ASTM E18 — Standard Test Methods for Rockwell Hardness of Metallic Materials.
- ASTM E384 — Standard Test Method for Microindentation Hardness of Materials.
- ASTM E1077 — Standard Test Methods for Estimating the Depth of Decarburization of Steel Specimens.
Explore More Procedures
Browse our comprehensive procedure guides for material-specific preparation methods and get personalized recommendations.